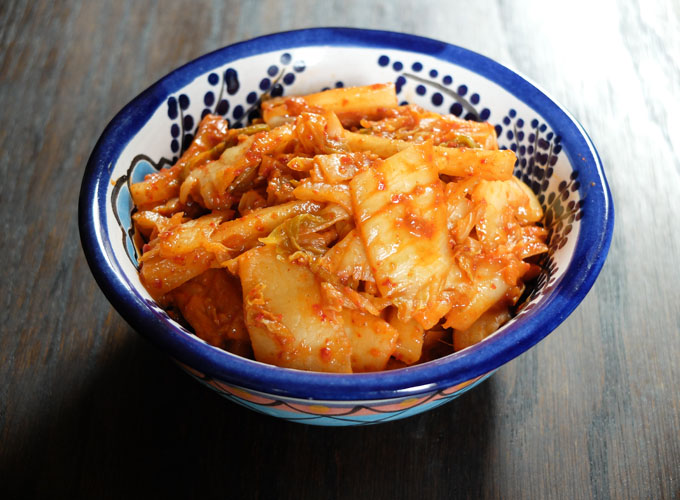
 About a year ago Joe was gifted a fermenting crock pot for his birthday. Such a great gift for a couple who always enjoys making things from scratch, this was certainly a perfect addition to our kitchen. We have been interested in learning more about fermenting our own foods for quite some time. We’ve got a long way to go but we’re off to a good start. Over the past year we have made about 5 batches of kimchi, each time a little different. Check out our latest batch!
- Napa Cabbage - 3 heads (about 12 lbs. / 50 cups!)
- Daikon Radish - 3 roots (about 2 lbs. / 6 cups)
- Salt (iodine free) - 2 cups
- Garlic - 6-8 Tablespoons grated
- Ginger - 10 teaspoons
- Kelp Powder - 10 teaspoons
- Sugar - 8 teaspoons
- Gochugaru - 20 Tablespoons
- Cut Napa cabbage in to quarters, then eights lengthwise. Cut each wedge into approximately 1 inch wide strips. Place cut cabbage into a large container.
- Salty brine, gloves optional. Pour Kosher salt (iodine free), over the cabbage. Massage the salt into the cabbage until it begins to wilt. Pour water to cover cabbage. Use a plate and a weight on top to keep cabbage submerged for a 2 hour soak.
- Prepare gochugaru paste. Grate ginger, crush garlic, and combine with kelp powder, sugar, gochugaru powder, and a splash of water.
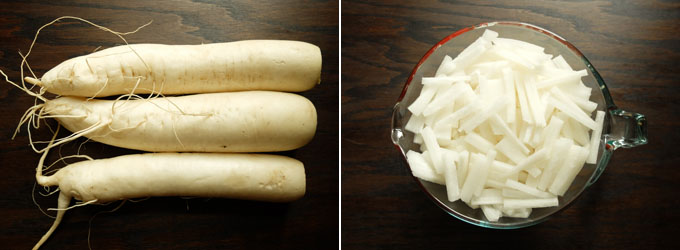
- Cut daikon radish into matchsticks or desired shape.
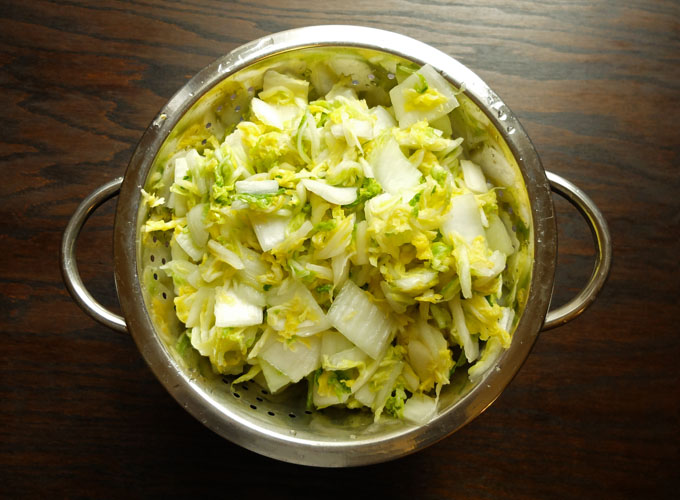
- Rinse and drain cabbage thoroughly, at least 3 times. Allow it to completely drain in a colander for about 15 minutes and return to the washed out pot or container.
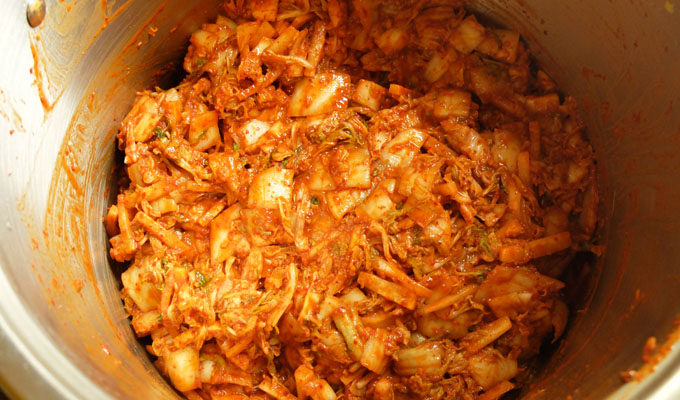
- Mix gochugaru paste into cabbage. Add daikon radish and thoroughly coat the vegetables with the paste.
- Jar. Pack your jars with kimchi leaving about a ½-1 inch of head space. Clean rim of jar and seal with clean lids.
- Refrigerate. Allow flavors to develop for 2 more weeks- or enjoy immediately!
Find the method details below!
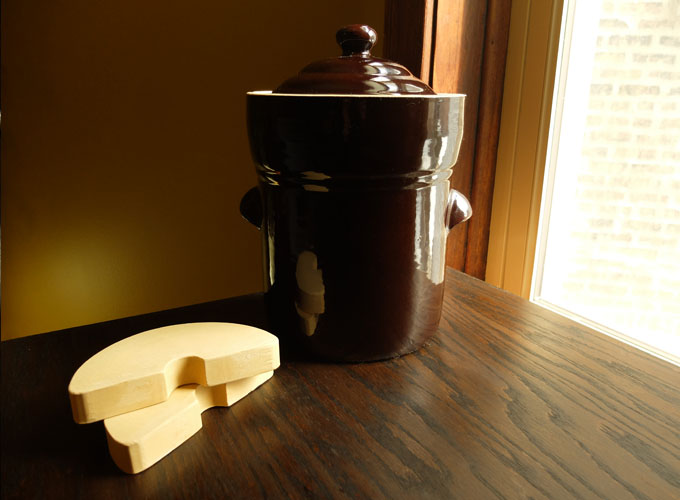
For this method, you will need a fermenting crock, weights, a large stock pot or a gigantic mixing bowl, a colander, and some rubber gloves.
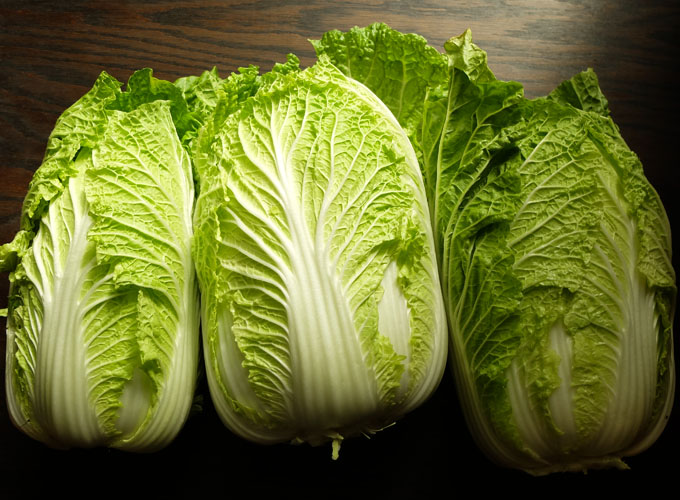
Our fermenting crock pot is 5 liters large, it holds a surprising amount of Napa cabbage! While you can fill it as much or as little as you’d like, we always aim to fill it to the brim. This time, with the 12 pounds of Napa cabbage plus the 2 pounds of daikon radish, we reached the absolute maximum capacity, just enough room to get the weights in. The 12 pounds of cabbage came in 3 large heads.
 The first step in this kimchi process is to prepare the cabbage. You will need a large stockpot or container to put all of the cut cabbage into. I believe our giant stockpot is about 16-20 quarts. Since Napa cabbage is often rather large, I like to first cut it in quarters and then cut each quarter in half making eight wedges. These initial cuts generally give you a nice width, around 2-3 inches. Once the wedges are cut, slice them into strips about an inch wide. You can cut them into what ever size you prefer, consider what would be comfortable for you to eat and remember it will wilt quite a bit in the process.
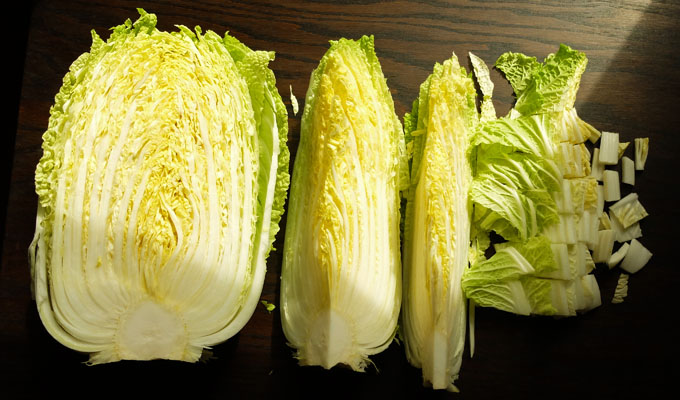 Our 12 pounds of cabbage cut down into about 52 cups worth! Dang, that’s a lot of cabbage. This process can work with any type of cabbage, but I think one of the reasons Napa cabbage is preferred is because of the variety of texture it offers. Some pieces are super crunchy and stiff, while others are very leafy and will wilt right away. Also worth mentioning, the price is right! You can get a lot out of just one cabbage.
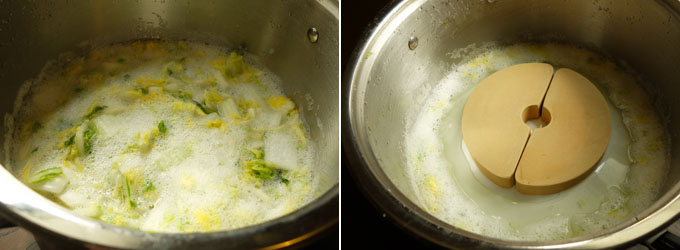
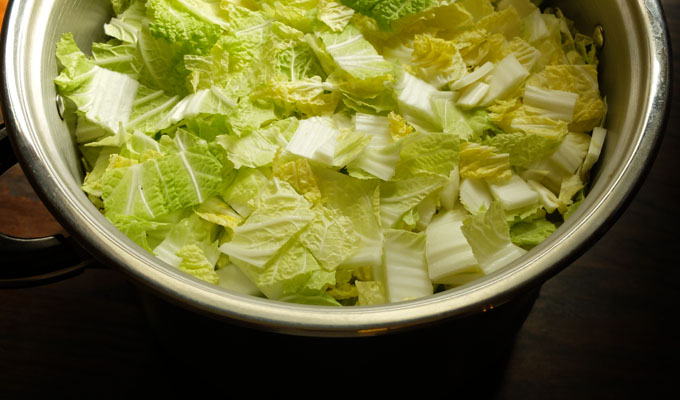 The next step is salty, you will likely prefer wearing gloves. Use iodine free salt for this process, it is said that iodine can prevent the fermentation and can cause discoloration. I like to use a coarse grind kosher salt for this recipe and in general. Pour salt on top and massage it into the cut cabbage. You really want to work the salt in, coat it well and it will begin to wilt.
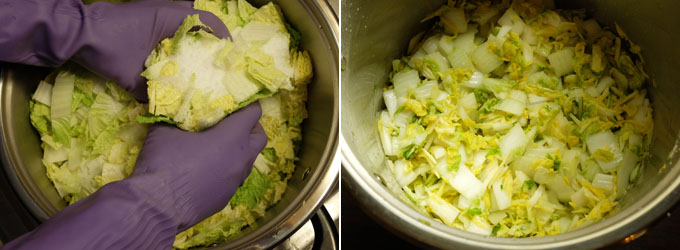 Pour enough water to cover the cabbage, creating a salty brine. Use a plate and a weight on top to keep cabbage submerged for a 2 hour soak. This salty bath kills off any harmful bacteria. The process is called lacto-fermentation, it is the same fermentation process used in making sauerkraut and pickles. In stage one of this kimchi fermentation process, all of the bad or potentially harmful bacteria is wiped out, as it cannot tolerate salt. In stage two all of the good bacteria develops, it can tolerate a bit of salt. This good bacteria, called lactobacillus bacteria creates lactic acid. This lactic acid is responsible for the tangy or sour flavor and creates an ideal environment for preserving fermented or pickled food.
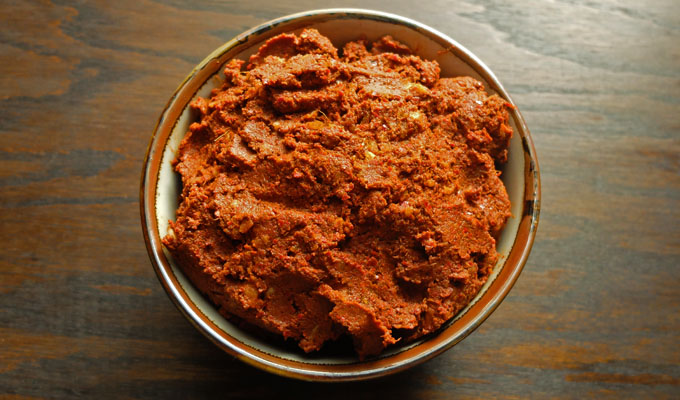
 While your cabbage enjoys the salt bath, you have time to create your gochugaru paste. Gochugaru powder, kelp powder, sugar, grated ginger, and minced garlic.
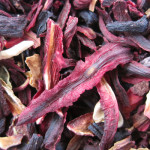
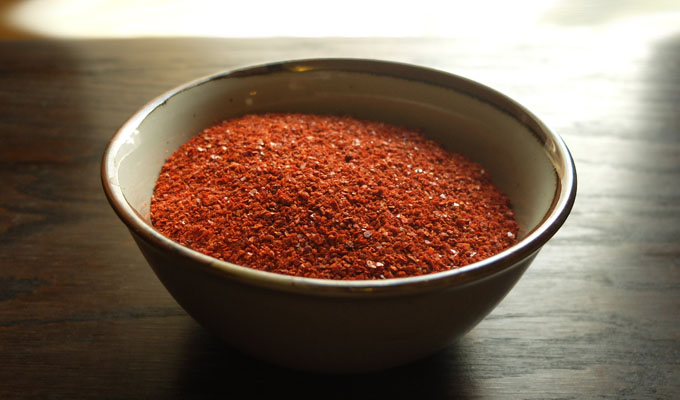
Gochugaru powder is made with Korean red chilies, they are traditionally dried in the sunlight which is known to promote the best flavor. Once dried, the seeds are removed and the peppers are crushed up into a coarse powder. The color of the gochugaru powder is an intensely bright red, very beautiful. It’s flavor is slightly sweet, a bit smoky, and the spice level is quite nice, not too overpowering like a cayenne powder might seem. Measure out your gochugaru powder, 20 Tablespoons. reduce the measurement if you are worried about spice, this is a good amount for our preference. Seems like a ton, but consider all of that cabbage involved!
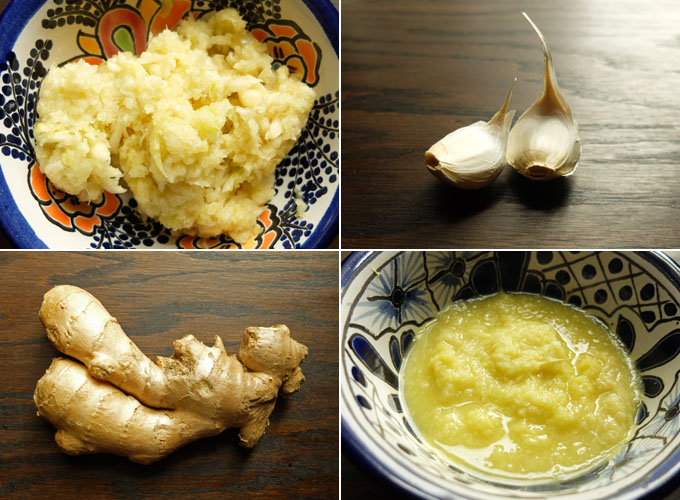
 Grate your ginger and crush your garlic. Be careful of adding too much of these two ingredients. It is said that adding too much ginger to your batch could make it too sticky. Too much garlic can turn your batch bitter and can overpower the fermentation process, prohibiting the beneficial bacteria growth.
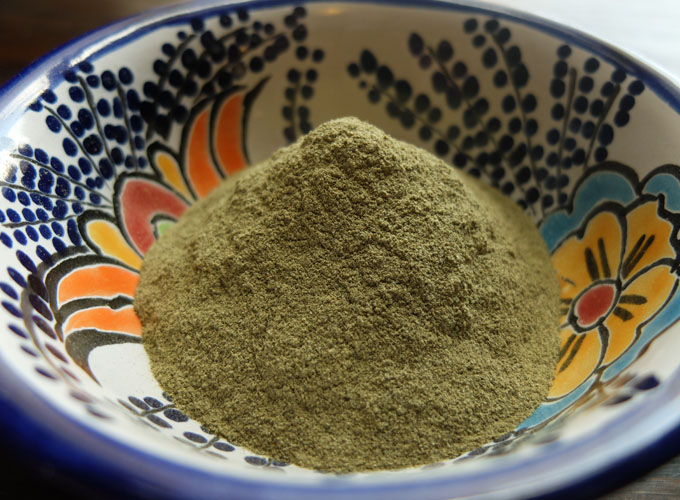
 Measure out the kelp powder and sugar. Many people use fish sauce in their kimchi, we like to keep it vegan and add kelp powder for our umami element.
 Combine all of these ingredients, add a slight amount of water to create a paste.
 Cut your daikon radish into a matchstick shape. These 3 roots weighed just over 2 pounds and amounted to about 4 cups worth of radish sticks.
 Once your two hours are up, rinse and drain the cabbage at least 3 times. You’re basically thoroughly washing the salt away. Allow the excess water of the rinsed cabbage to drain in a colander for 10-15 minutes. You don’t need any extra water as the cabbage will be creating plenty of it’s own juice during the fermenting process.
 Place the rinsed cabbage back into your pot and add your gochugaru paste mixture. Using your hands, incorporate the paste into the cabbage. Gloves are highly recommended for this step. Add the daikon radish and continue to mix everything together thoroughly.
 Load your kimchi into your fermenting crock. You’ll notice that the kimchi mixture is already creating a liquidy sludge and there will be more! Once you have transferred the goods, place your weights inside of the crock, this insures that your kimchi is weighted down and submerged throughout the fermenting process.
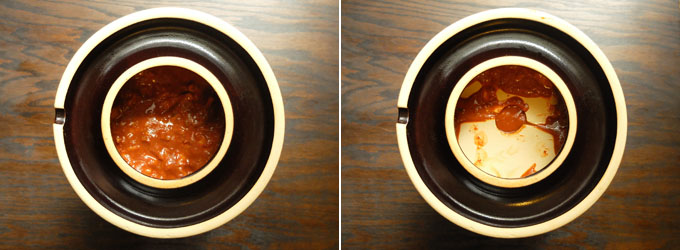 This batch was quite large and just so happened to be the exact maximum amount our crock could hold. We were lucky that we could fit the weights in without having to remove any kimchi! Clean your crock from any spillage or slop, put the lid on and fill the surrounding trough with water. This channel of water creates a seal that will not allow anything to get into your batch, it will however allow little bubbles of air to escape. This water supply will need to be replenished and should be checked daily. Push your crock back into a cool corner on your counter and let it sit for 3-7 days.
Pack your kimchi into jars! For this batch we were able to get 9 pint jars. Be sure your jars are properly cleaned and sanitized. We usually pop them in the dishwasher with a high heat setting or boil the jars and lids before packing them. Since filling the jars tends to be a bit sloppy and juicy. We alway set the crock in our sink and have our jars ready to go. Pack your jars tightly, pushing any air from the kimchi, leave about 1 inch of headspace in the jar. Clean the edges of your jars before closing them.
Store in the refrigerator. Your kimchi is ready to eat, however we usually wait an additional 2 weeks after jarring, allowing the flavor to really develop into something wonderful. We love to eat kimchi on tostadas, over rice, on crackers, or simply as is.